Photo Shooting a product-based subject for multipurpose distribution across different platforms requires a lot of preparation for better product image display presentation.
The key to a great photo is through a well-thought composition towards its purpose. And this can be achieved through your systematic methodology or process.
Today, I would like to share with you my production process towards achieving a goal over a product-based photography project.
I’ve adopted this methodology over time and experience as a multimedia specialist in an international Japanese Multimedia Software Developer (for Education, Entertainment and Business) firm, JAMP(JAPAN MEDIA PROGRAMMING) Cebu Inc. that I owe much of my skills and tech-knowledge together with the Department of Science and Technology(DOST), Philippine Council for Advanced Science and Technology Research and Development(PACASTARD) and The Confederation of Scientific and Professional Organization(COSPO) under the Philippine-Japan Technology Skills-Sharing Program Scholarship. Below is our humble production process that helps me a lot to do things seamlessly.
Production Process
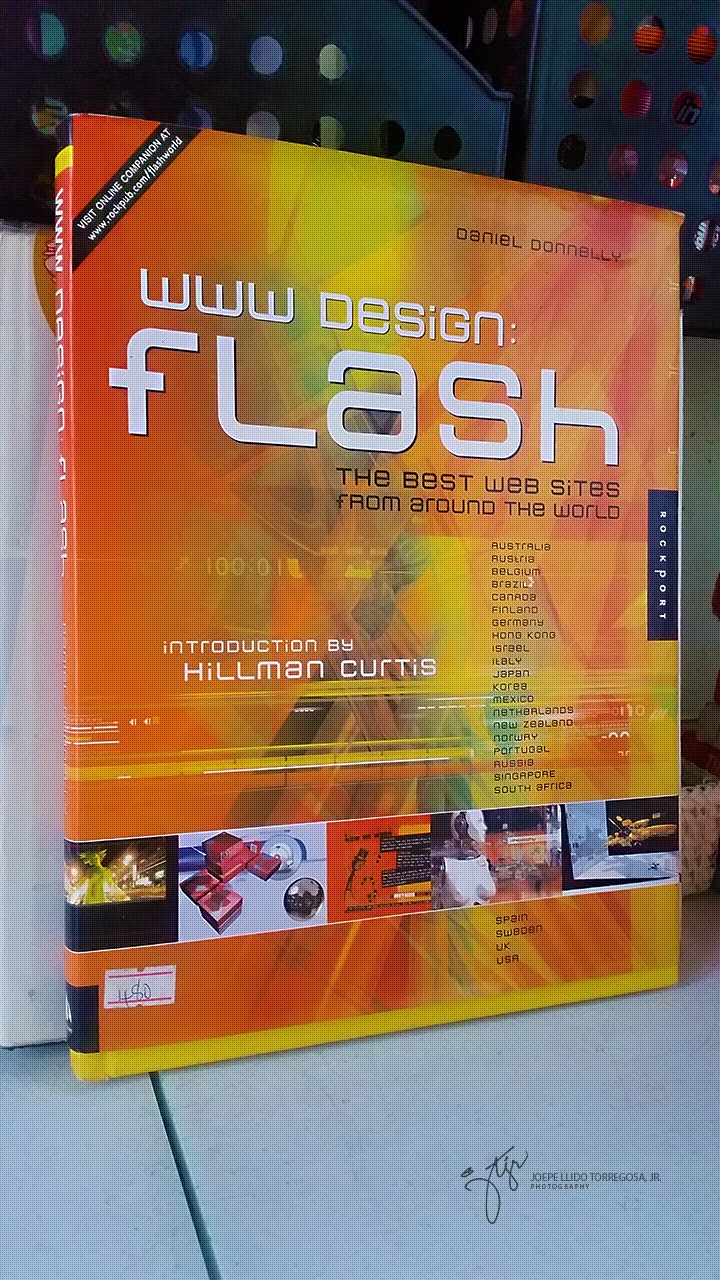
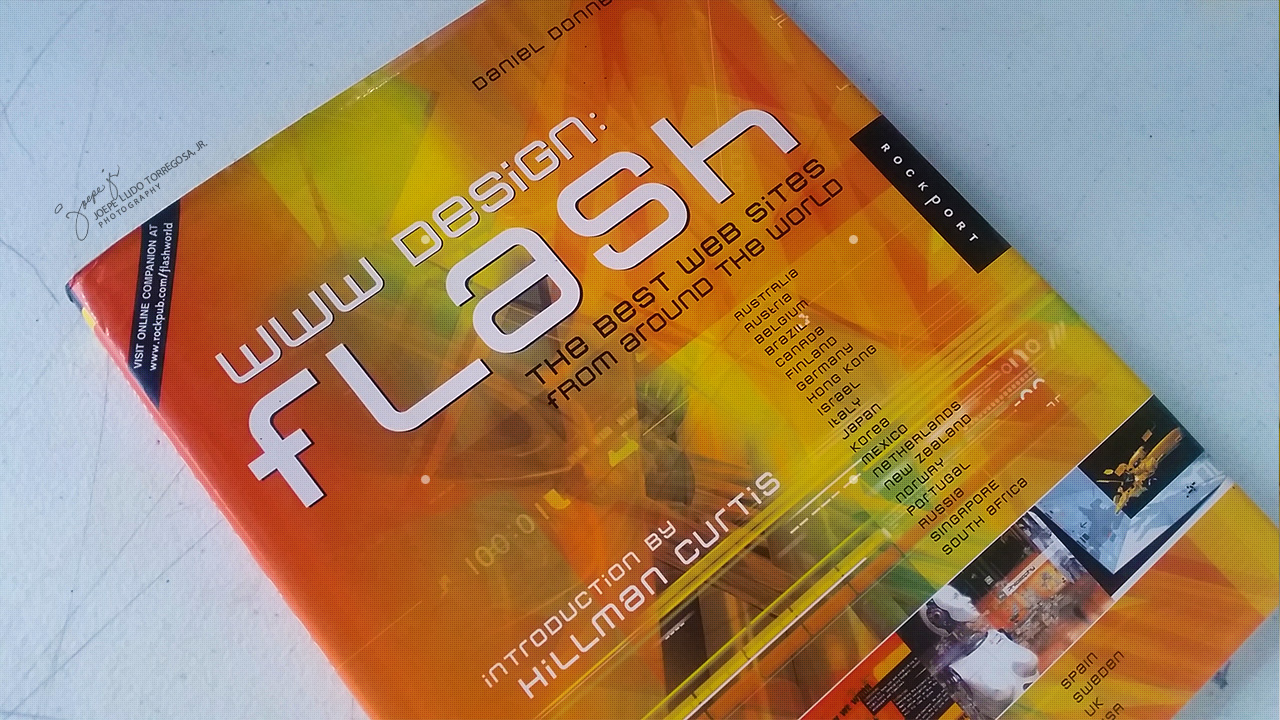
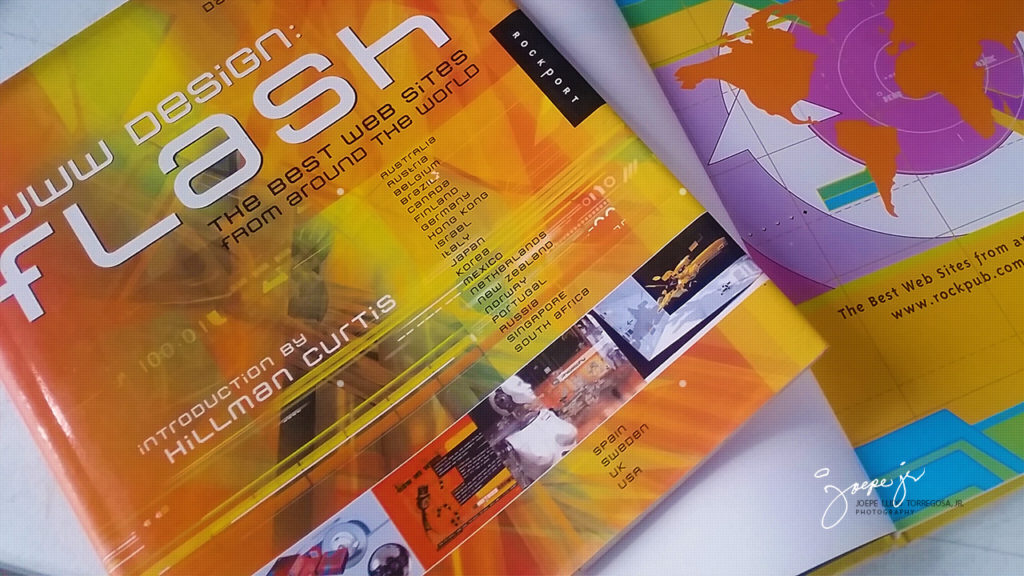
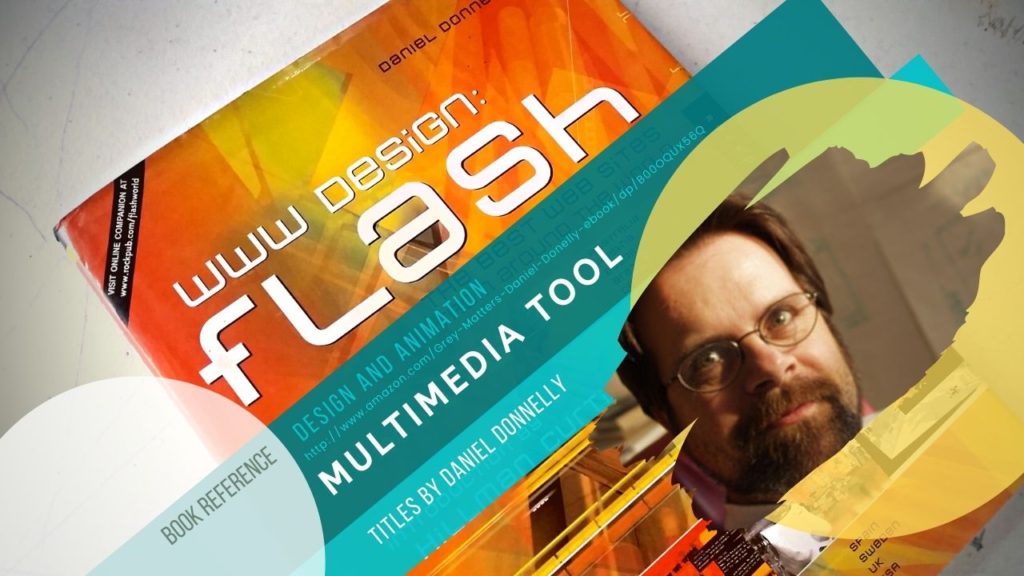
For the material used in this particular “how-to” article, I used my personal design book reference as a subject photo for discussion. I hope this will help you grasp the whole process.
Process
Concept
First and foremost, every subject/topic I’ve to work with are treated as a “project”. I see to it that all things will be put into schedules to go as a plan with less hassle and backlog.
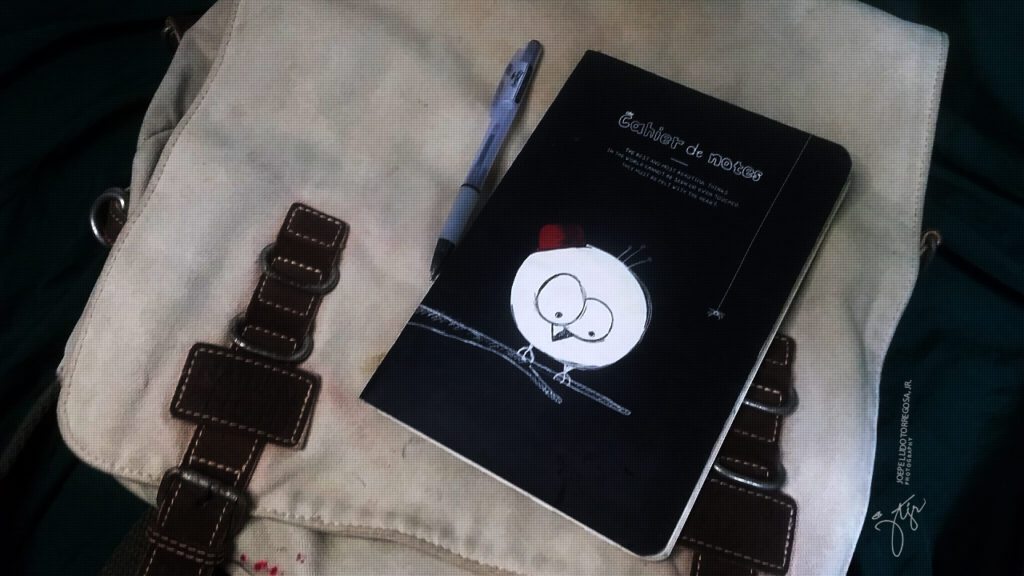
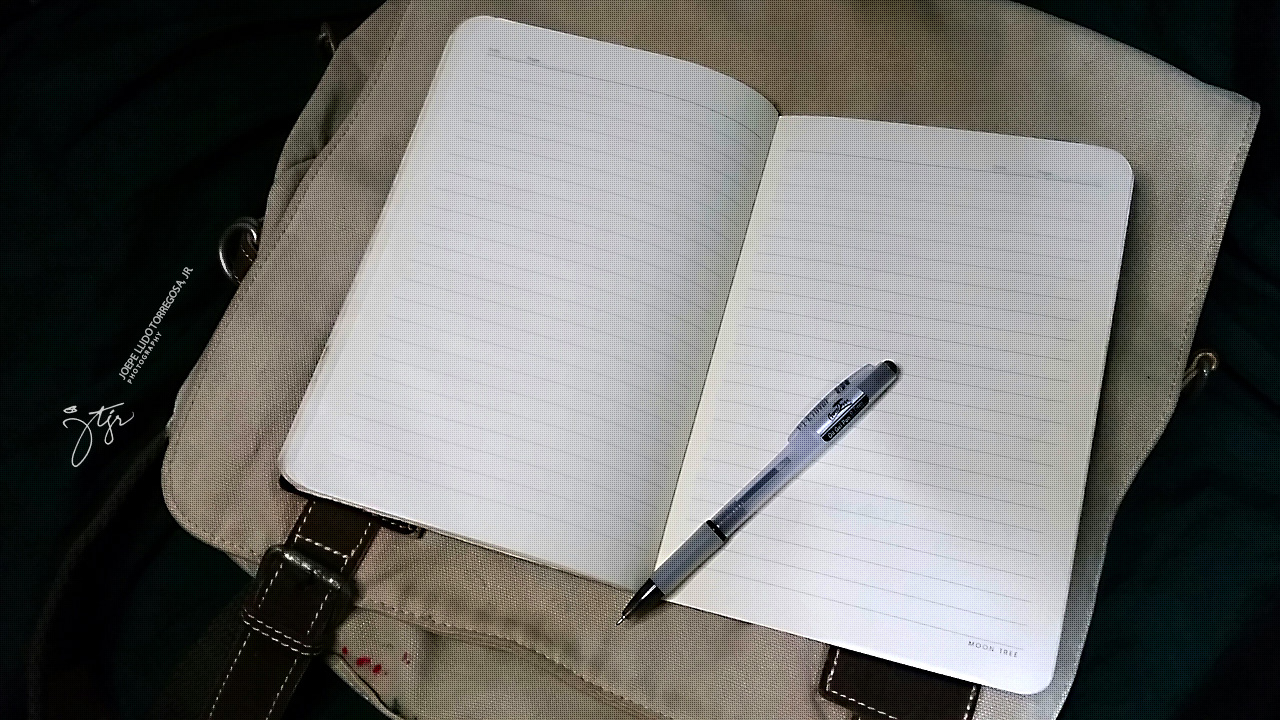
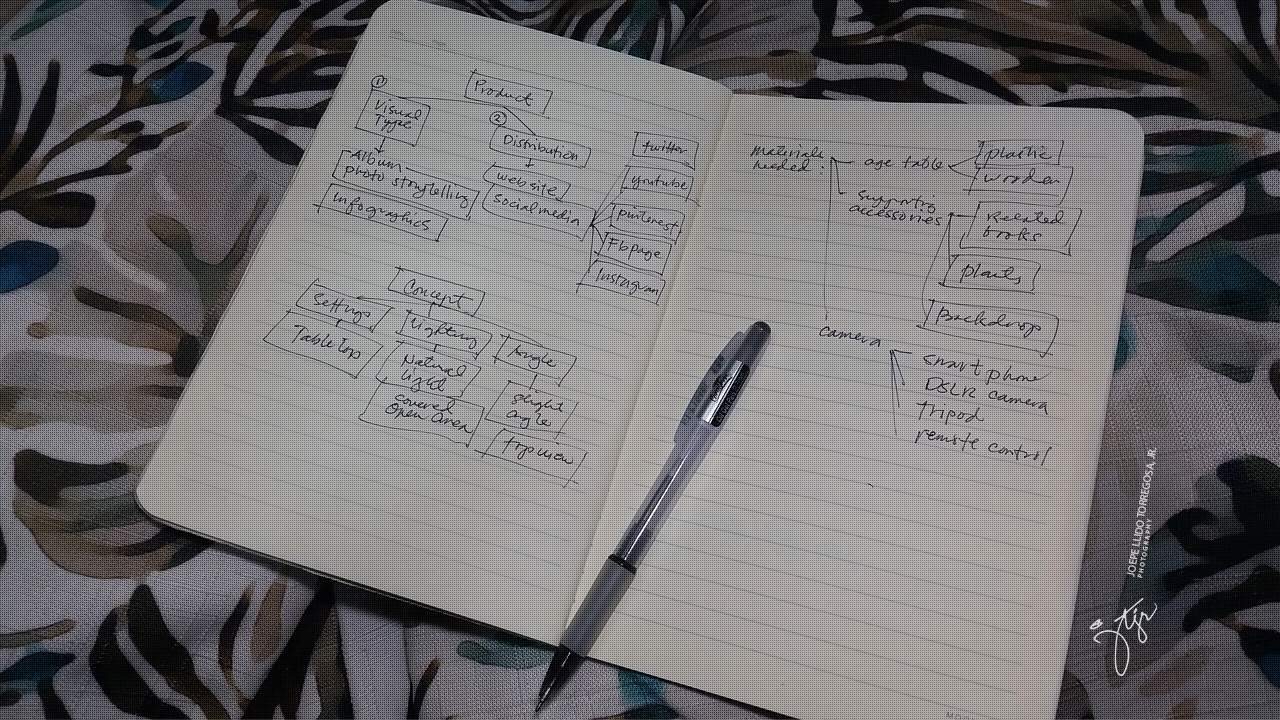
To start my day with my project I always go over to my notebook journal and check all my notes, ideas, research and survey data.
Below is my project journal notebook.
I always carry my notebook with me where ever and whenever I go. It’s really really convenient and I can do more than just notes… and it’s a lot faster.
NOTE: My journal notebook serves as my basis as well as my guide in the production process.
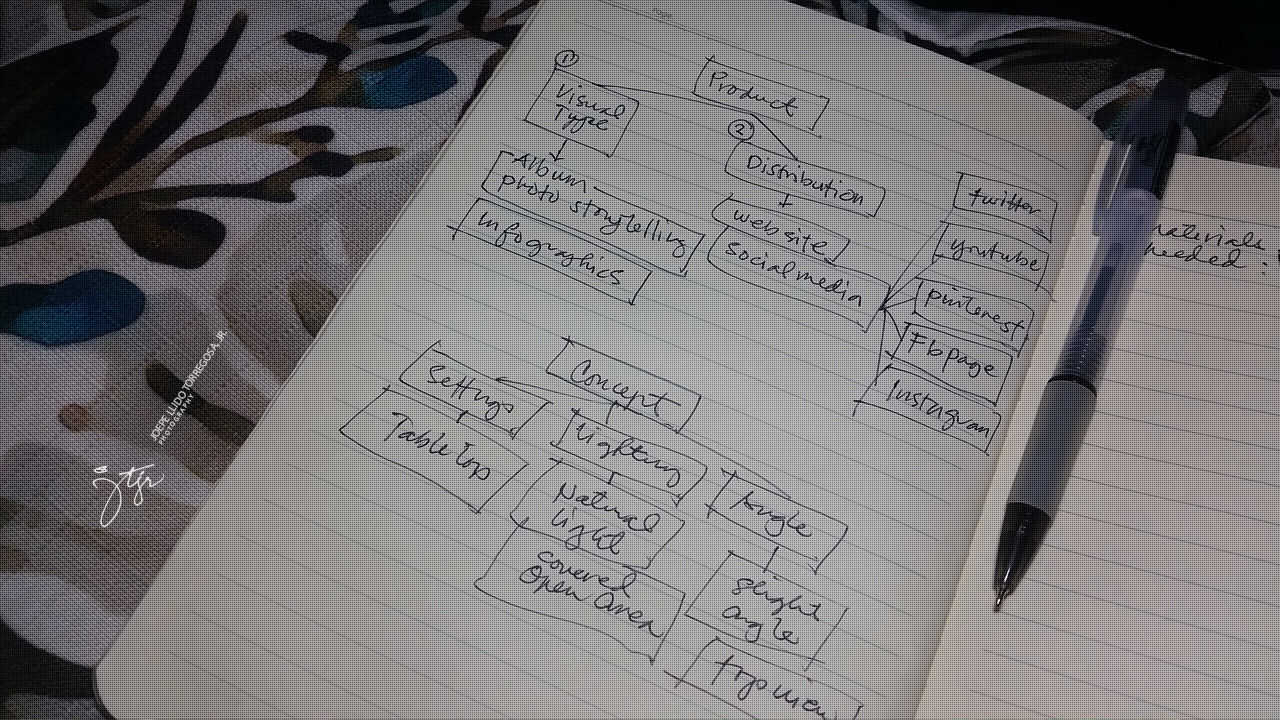
The conceptualization stage is the most critical part of the entire production process yet the most fun, engaging and interesting stage with a lot of adventure in your creative mind. And It does requires much ample time to develop the concept.
The ideas brought into bits and pieces of notes, drawings and sketches in the journal notebook are carried out as concrete blueprint conceptfor the entire project’s production.
RECOMMENDED BOOK(S) TO FURTHER ENHANCE YOUR PASSION AND SKILLS:
Best Sellers Rank: #13,185 in Books (See Top 100 in Books) #6 in Photography Reference (Books) #2,062 in Reference (Books)
the Concept
Shooting a product-based project such as a book for product review, marketing, promotion, and ads design is a bit tricky when it comes to the target distribution medium. One must understand that your effort will be of good value and won’t be too laborious. I always follow this famous quote “hitting two or more birds in one stone” when it comes to photography.
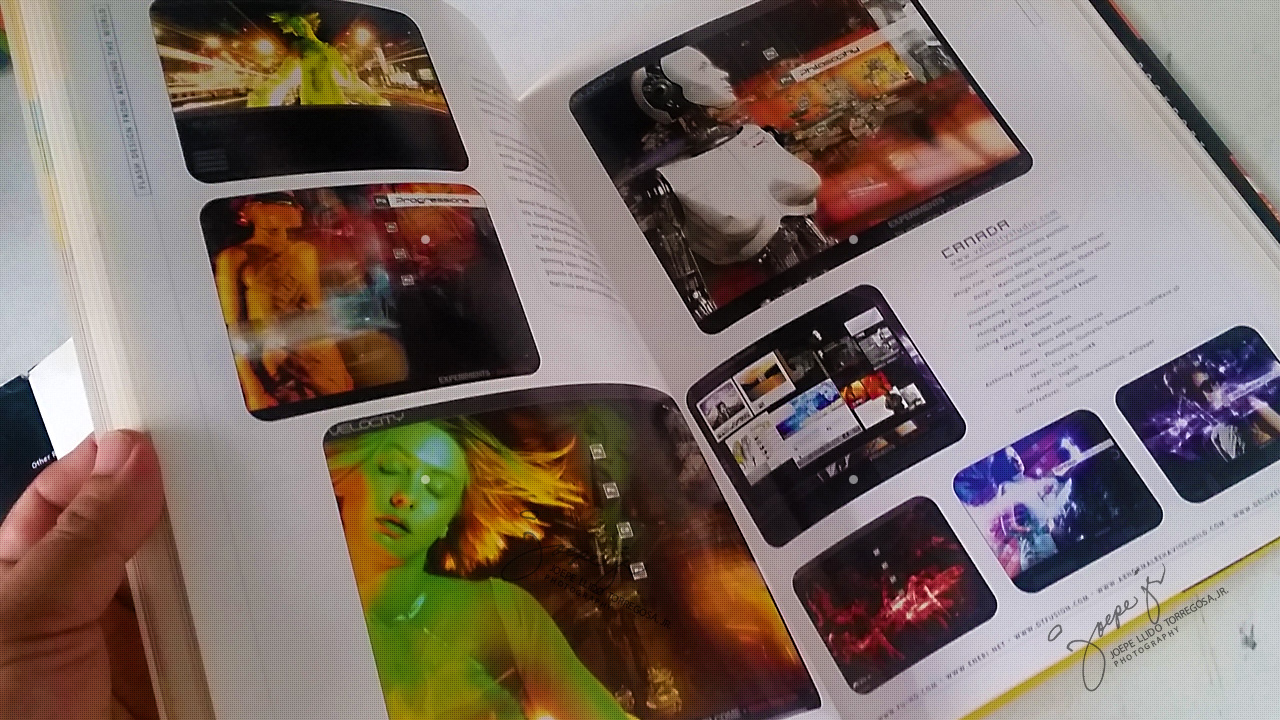
In this particular project “Book Photography”, I would like to mind you that when it comes to book product review and promotion it would be best to point out straight to your personal experience with the product rather than telling a story from the marketing perspective of a representative or salesperson.
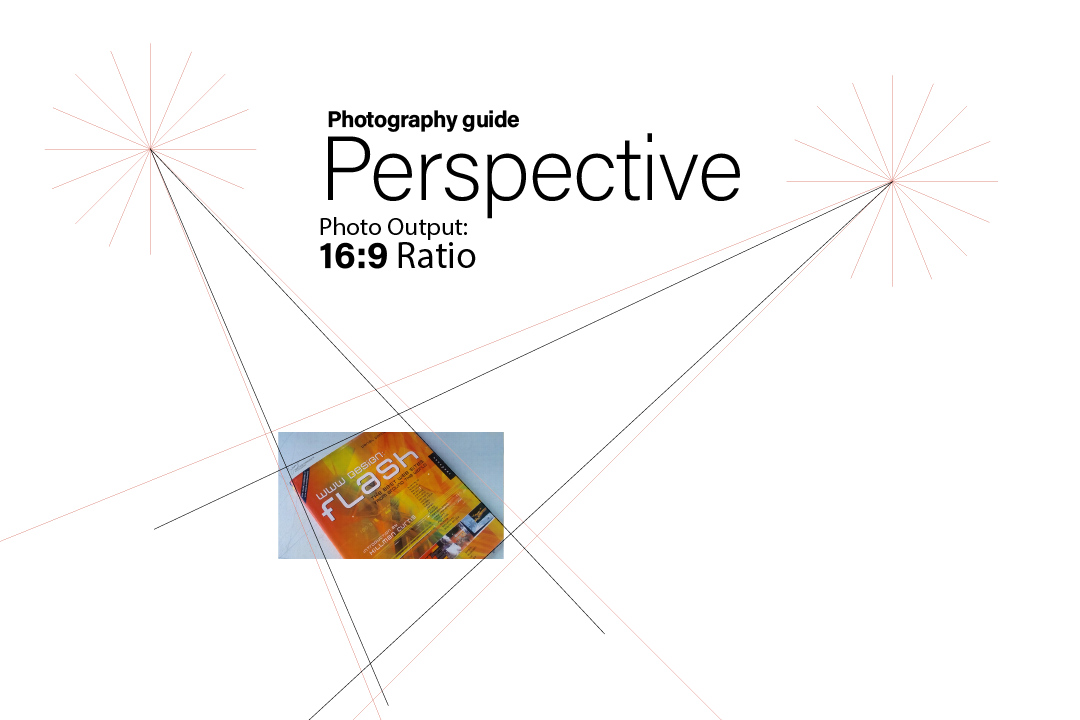
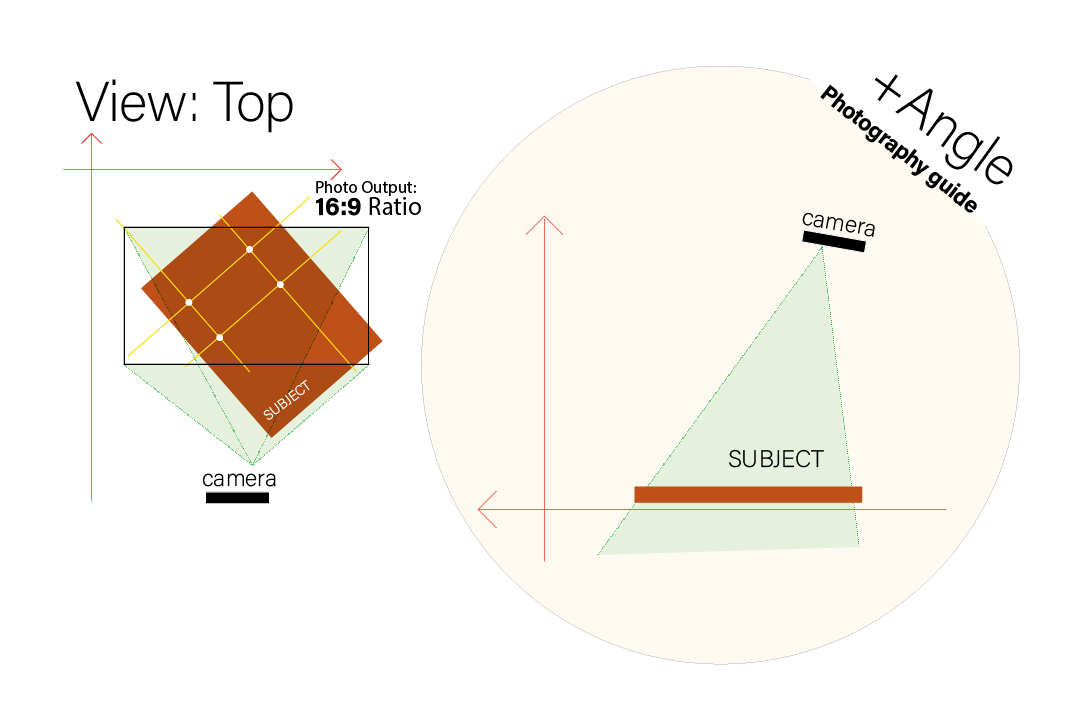
Be true to yourself. So, keep the setting as natural as possible. Shoot the book on a working table with perspective and angle. And put yourself in the perspective of the end-user and the like standing in front of the book at a distance.
The challenge is to entice the prospect reader-buyer of the product to grab a copy with a strategic subtle approach.
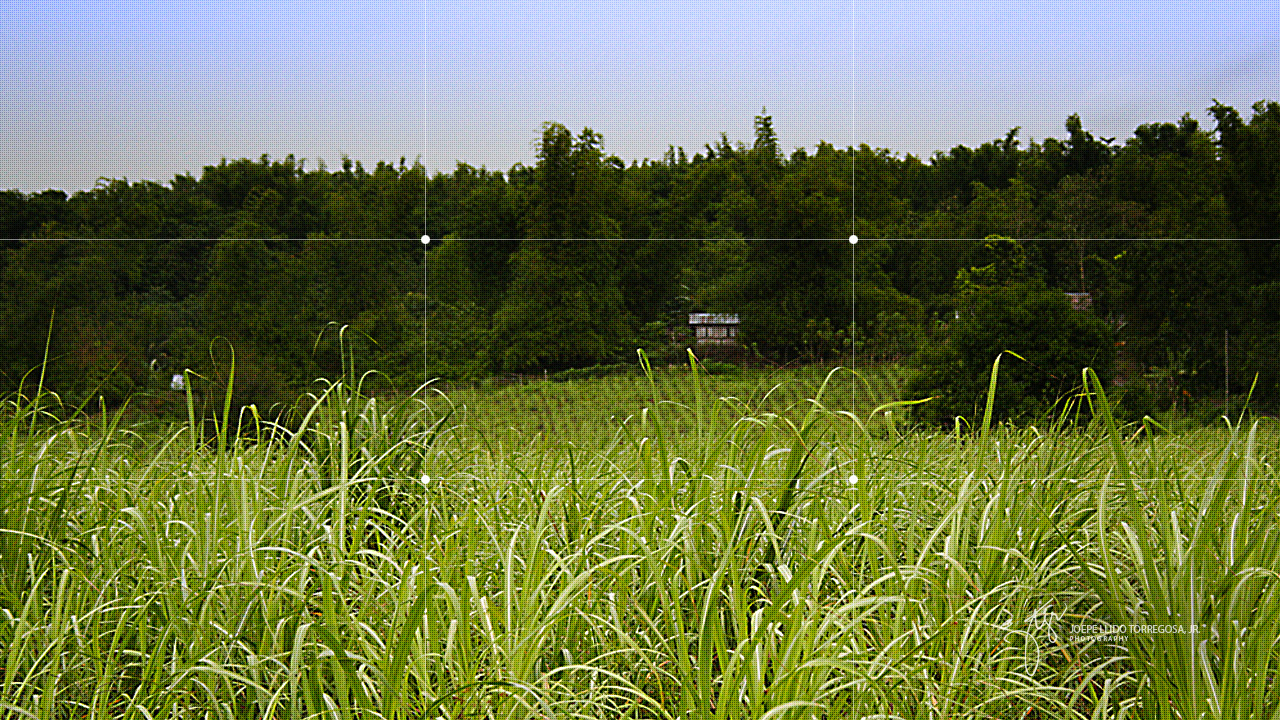
To avoid misproportion use the rule-of-third method or guide. Take note that the goal is to entice the end-user to pick the book.
So give something a bit of intriguing concept on the look and feel of the image to keep the urge of viewing the image.
Finish Product Output
NOTE: Shoot the subject on a covered open area and use natural light.
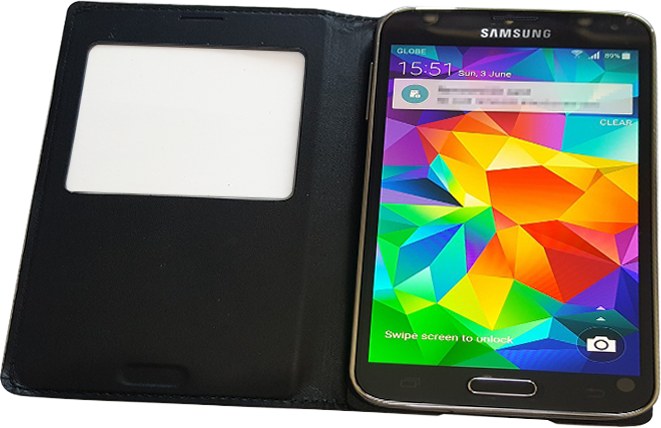
By the way, most of my shots are in natural light using my old smartphone.
My Old Samsung S5 Phone
Process
Flow Charting
Prior to the visual note is flowcharting – a summarized visual map flow guide of the project. I even use this technique during the conceptualization stage mind mapping. This process ain’t new to me because I’m used to it since college and in my programming field way back then… This stage helps me see things clearly in every aspect of the project from the research, study, notes, and ideas.
Without this overall guide, your production process will be in a mess. So be sure to have a map flow guide to avoid problems towards the outcome of the project.
Keep the flow chart visible to the production area or better yet hang it on the wall to remind everyone of all of the things needed to be accomplished within the timeframe of the said project.
Process
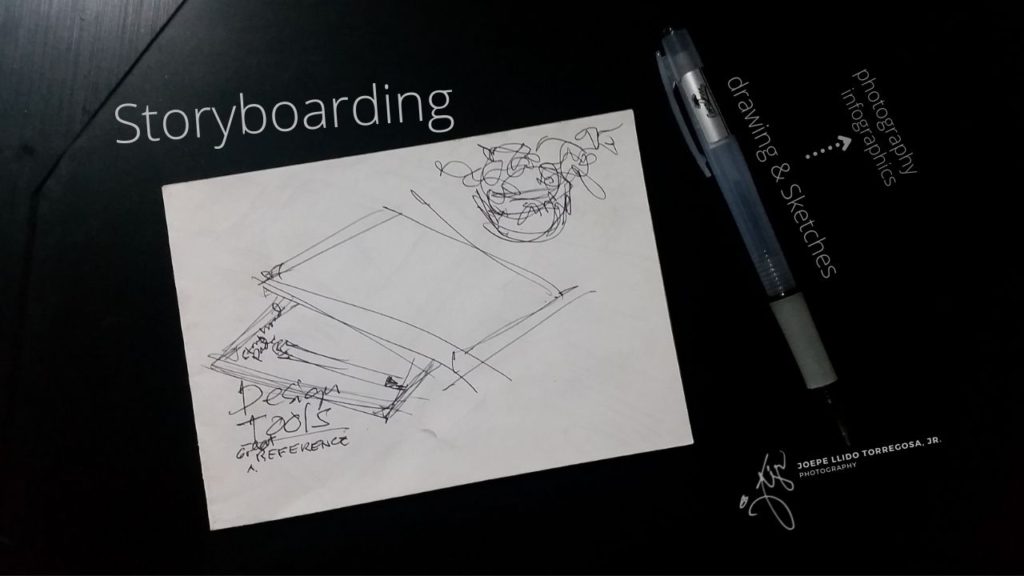
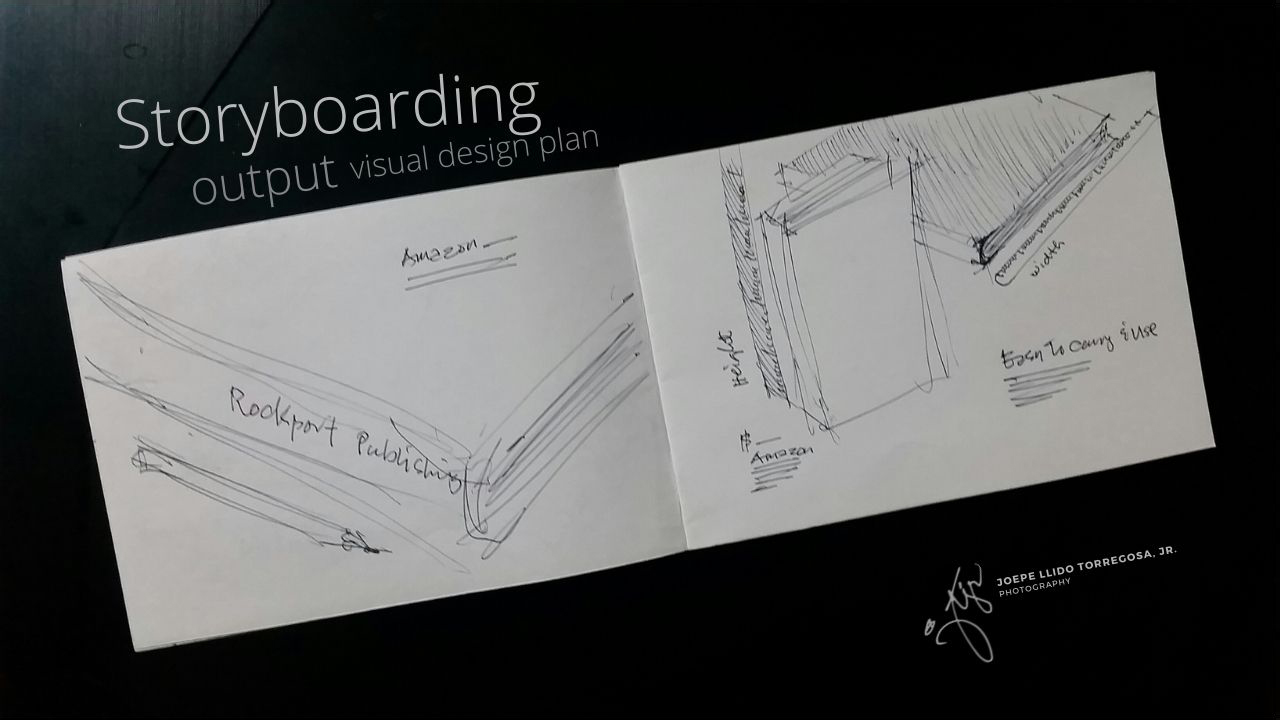
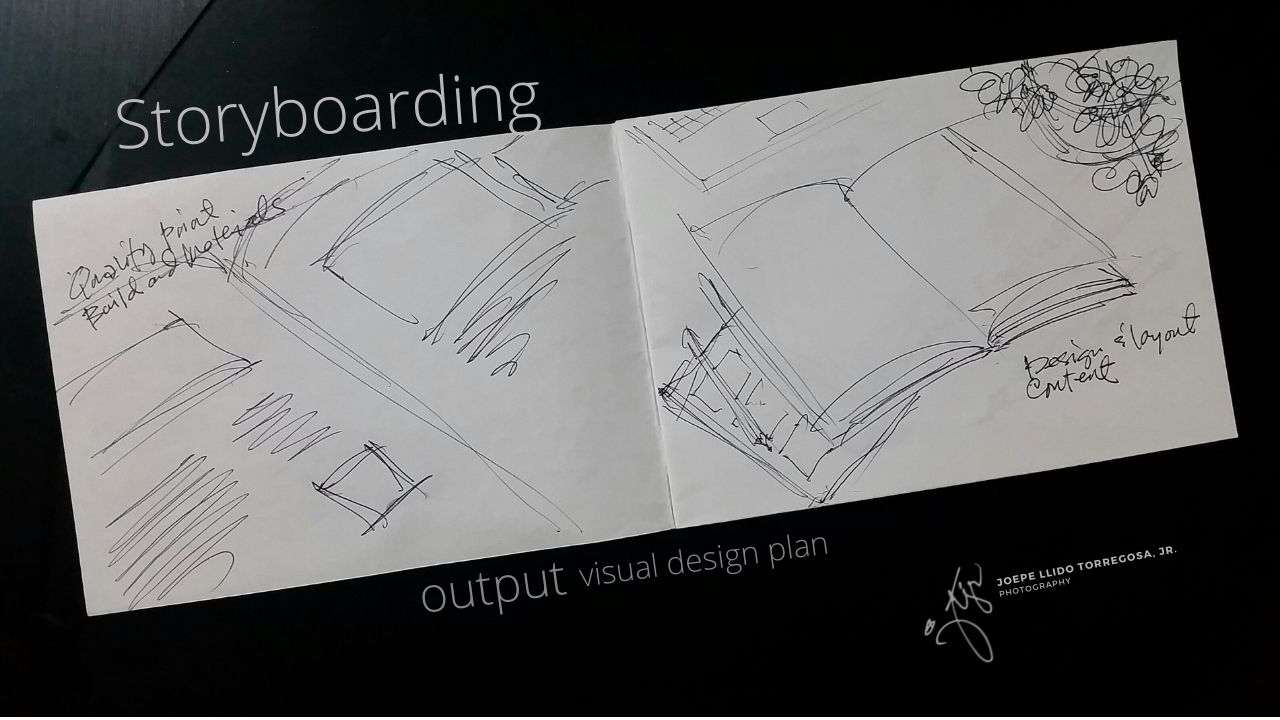
Storyboarding
The third most important part of the production process is the visual drawing and sketches based from the concept and the flowchart of the entire project called the storyboard.
The storyboard comes in 3 different formats namely Tabular Text-based, Image-based and screen frame-based.
These photos are screen frame-based storyboard. A simple drawing and sketches in a piece of paper or notebook based from the concept and the flowchart.
Process
Material Gathering
The material gathering process consists of the actual product to be shot along with the accessories or elements needed for the photo shooting. That includes the tools like the camera, batteries, and other photography peripherals.
Part of the material gathering are the evaluation and assessment of the actual product. Make sure everything is set to good for photo shooting.
Process
Product Photo Shooting
With all the concepts, flowcharts, and storyboard guide comes the execution part of the production process. Having a guide will surely come easy and handy. The remaining factor for quality output imagery is in the skillsets, techniques, and knowledge of the tools.
Skillset in photography is earned through constant practice and learning. Your creativity and eye for detail will eventually hone into place one with your tools and output. So don’t be afraid to try and explore things over your tools and subject.
RECOMMENDED BOOK(S) TO FURTHER ENHANCE YOUR PASSION AND SKILLS:
Best Sellers Rank: #13,185 in Books (See Top 100 in Books) #6 in Photography Reference (Books) #2,062 in Reference (Books)March 15, 2016
In product photo shooting don’t be hesitant or even be afraid to use the camera grid settings, especially, if you’re still new to it. It will help you a lot.
Understand the guide well and it will bring you so much fun and a well-composed subject with less work in the infographic visual design and development.
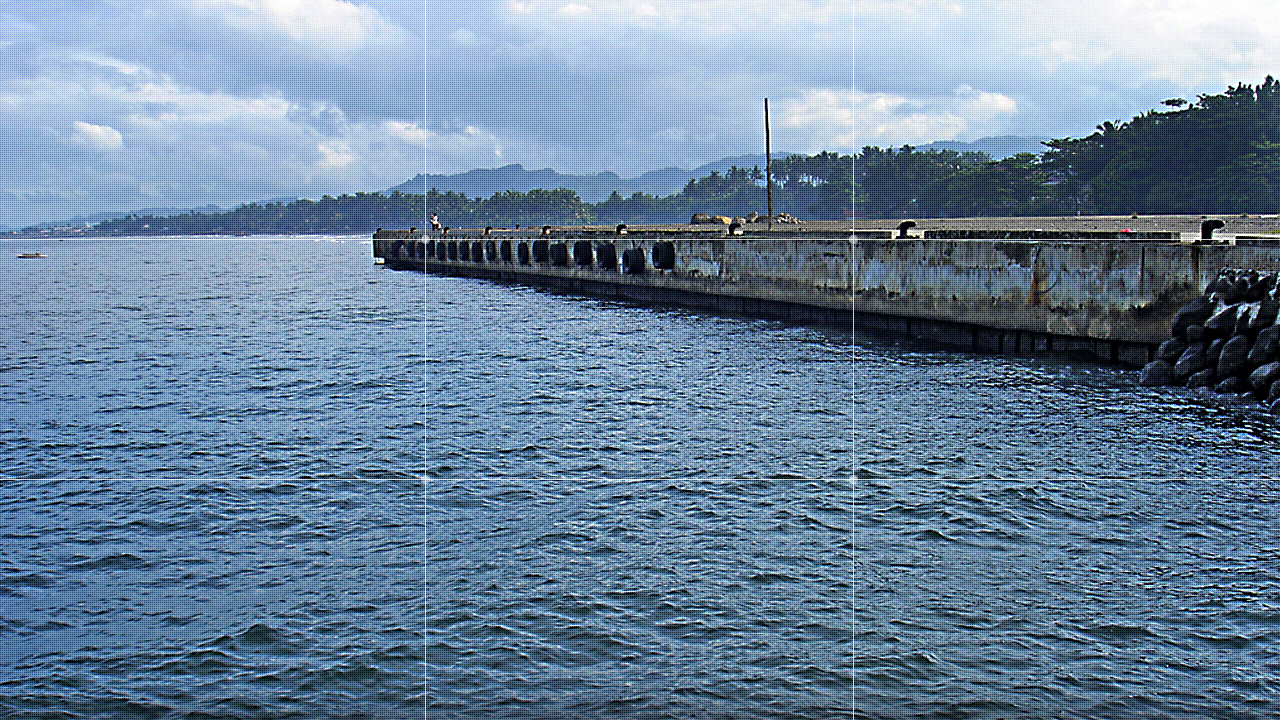
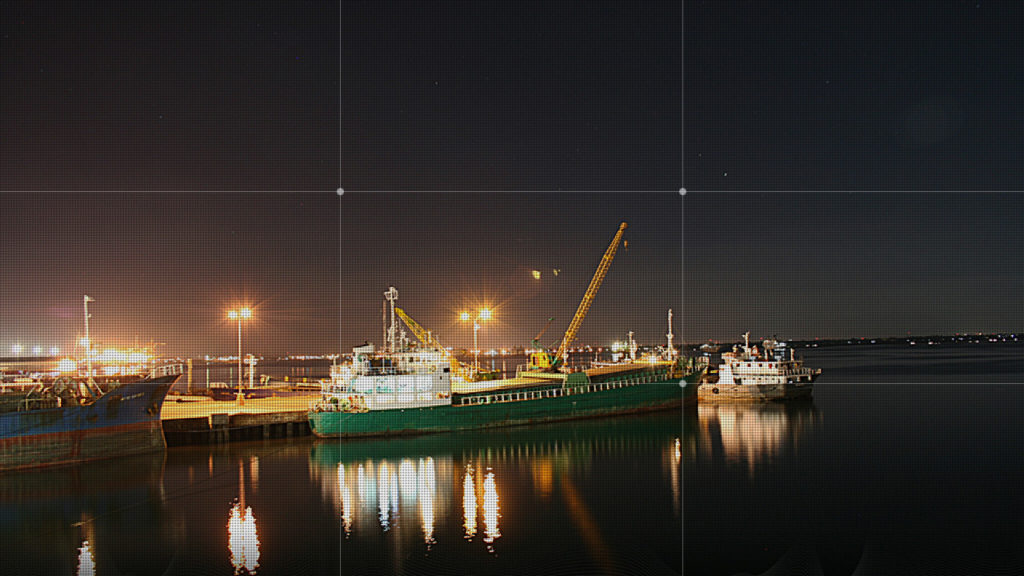
Apply the Rule-of-Third
The Rule-of-Third composition guide is one the most common and most adopted rule guides in photography for a more balanced and harmonious shot. It plays around the grid space allocation of the subject into a good visual photo layout.
To date, the guide is widely integrated into all cameras and smartphones. So if you’re new to the field of photography and videography shooting just activate the grid setting in your gadget and it won’t be too hard on you to get a good shot.
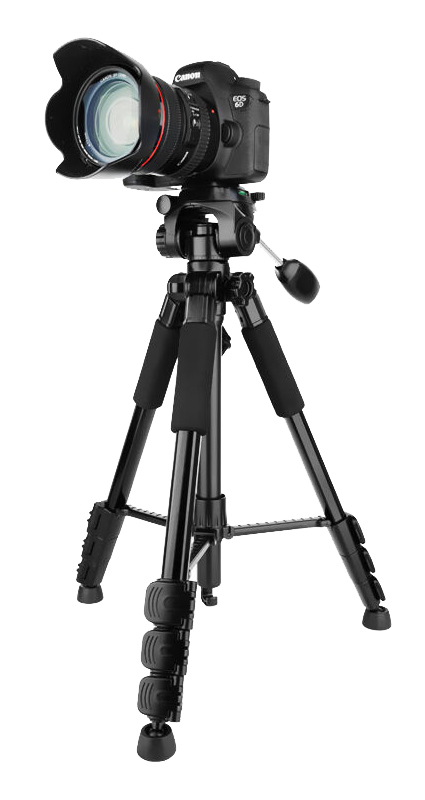
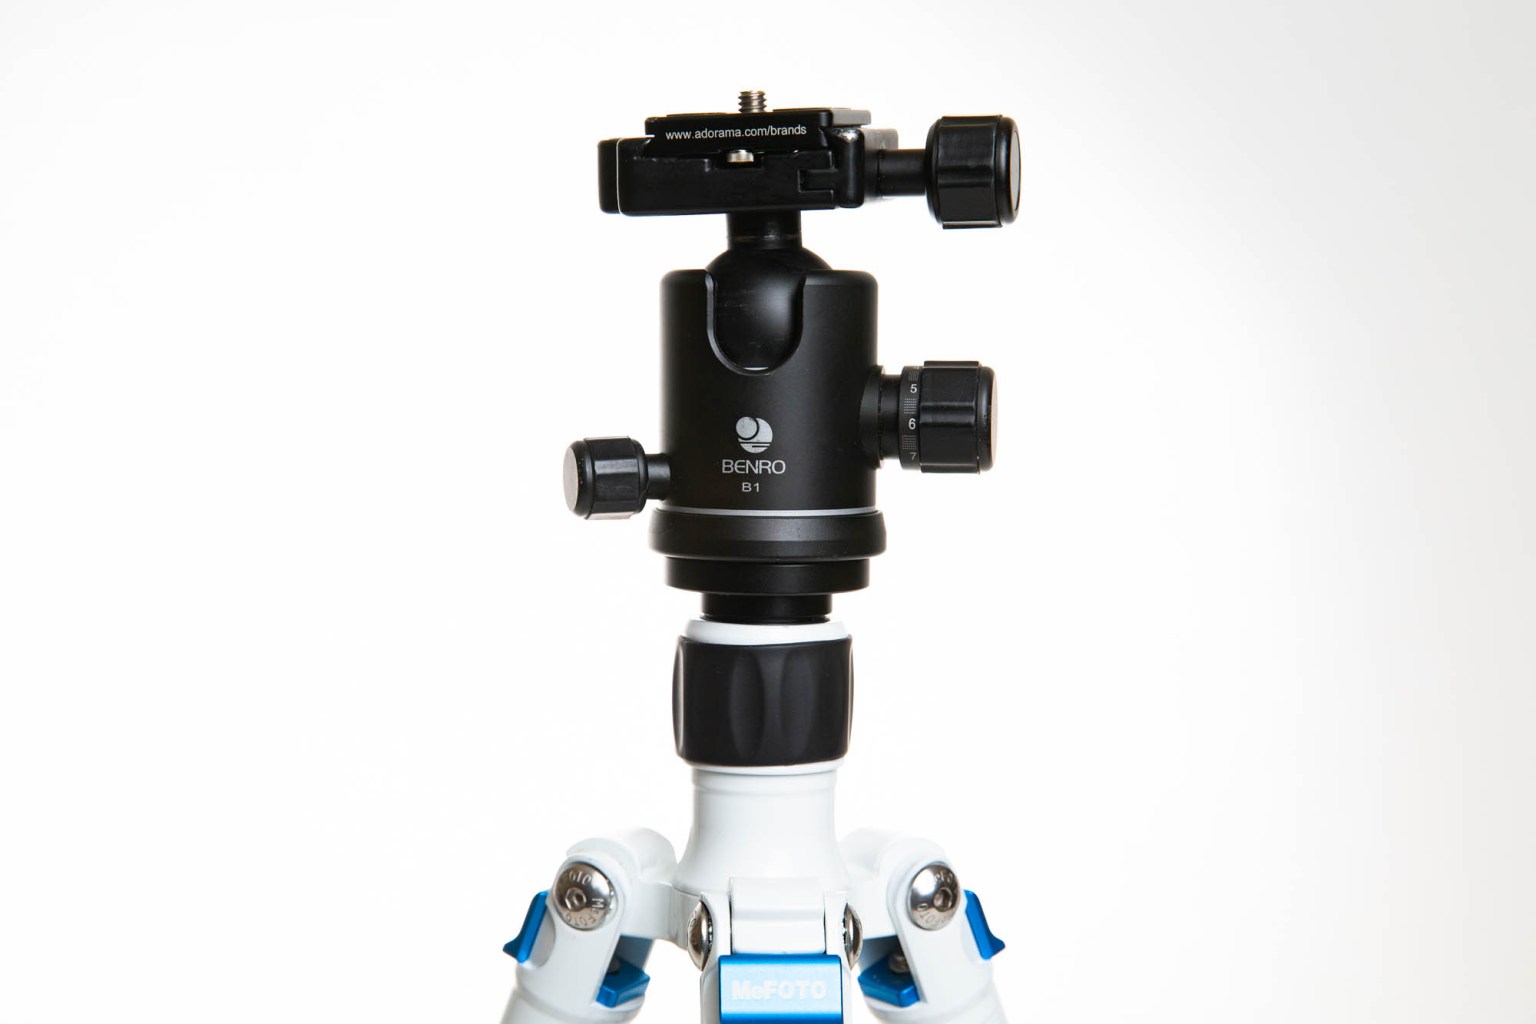
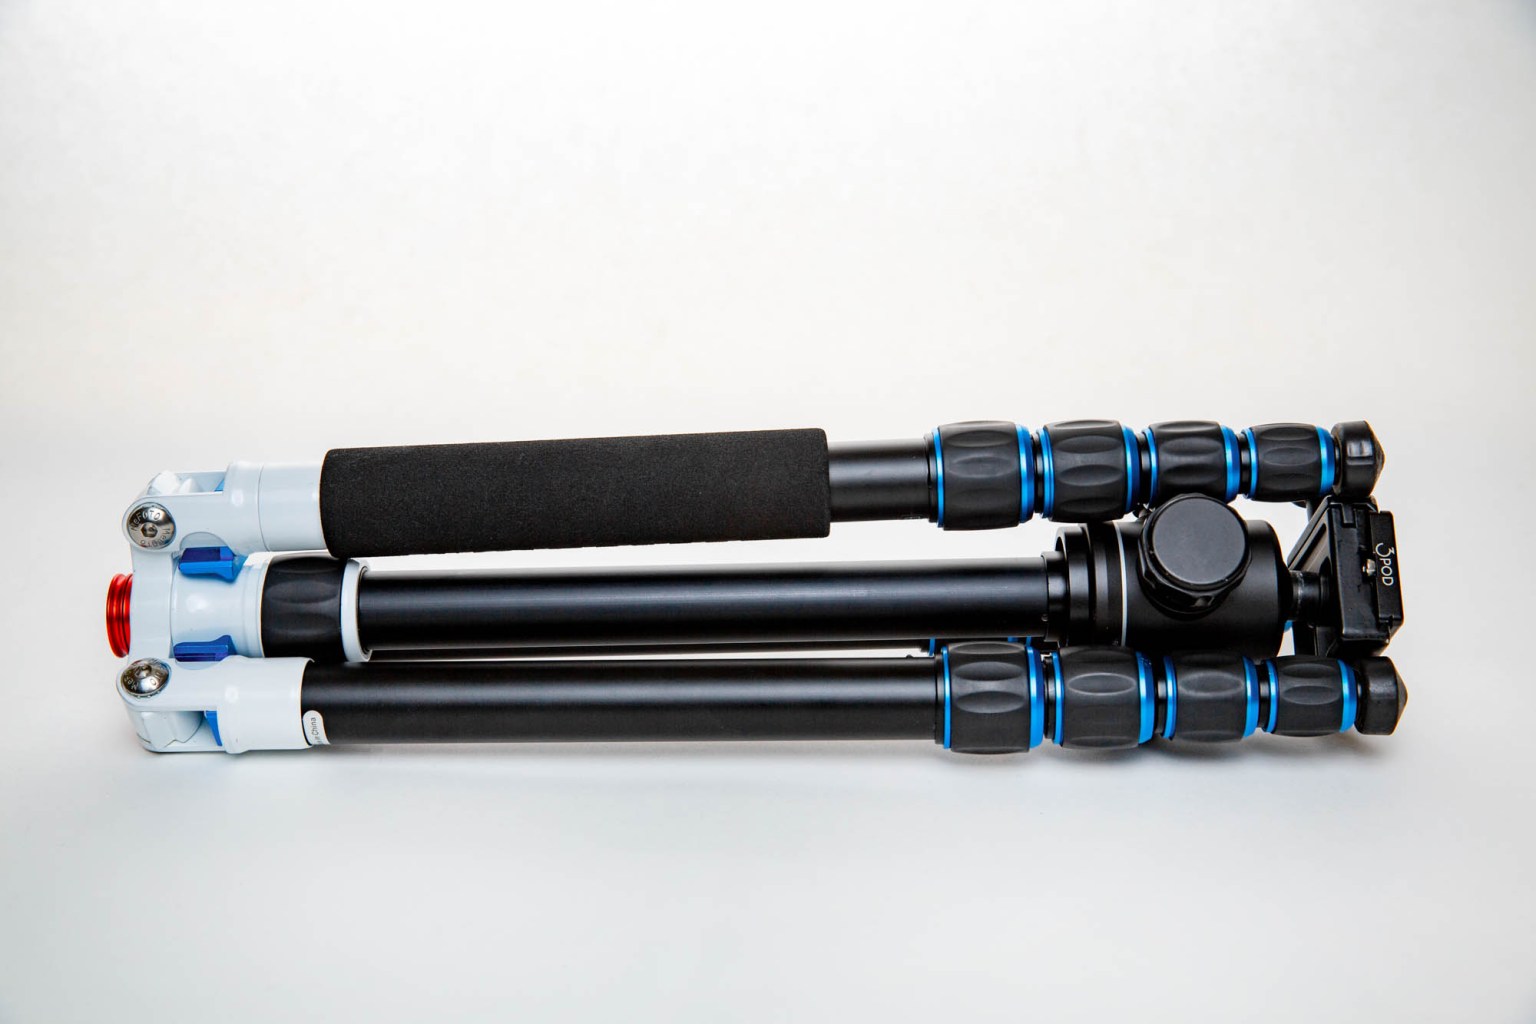
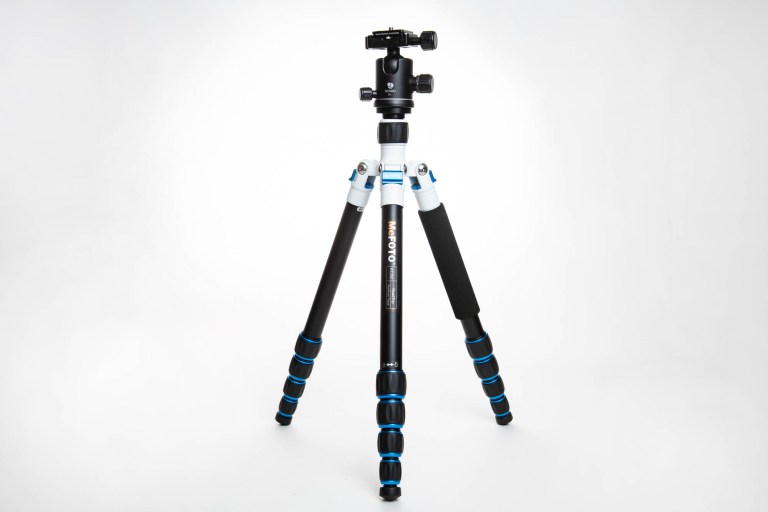
Use a Tripod
Shooting a product using natural or artificial lighting be it indoor or outdoor is easy but requires a lot of preparation. One must come prepared with the most important accessory tool with your camera – “The Tripod”.
Having a tripod makes your job a lot easier with great quality output.
In buying a tripod please make sure that the tripod is a bit heavier than your camera along with the lens to avoid incidents of falling off your gear.
Invest in the right tripod with great quality and durability. If you’re a traveler Vblogger then you don’t need to spend a much expensive tripod. Go with the easy-to-carry and sturdy tripod.
Nowadays, there are a lot of quality, durable and sturdy tripods designed specifically for every type of camera.
Again, weigh things right when it comes to your needs so you can roll your money wisely. Research and set a budget (And when I say budget, it means you have to stick to your budget).
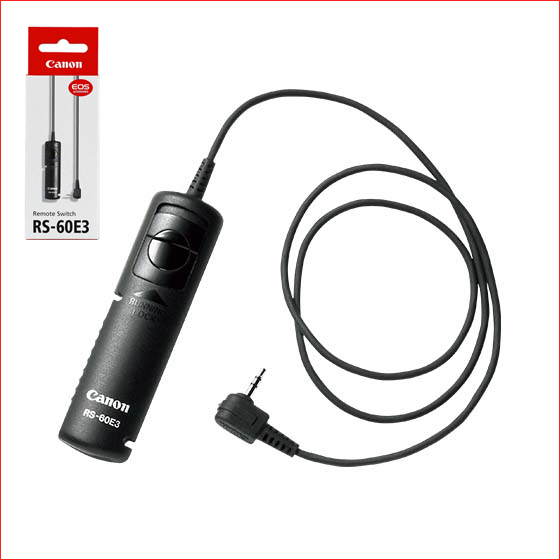
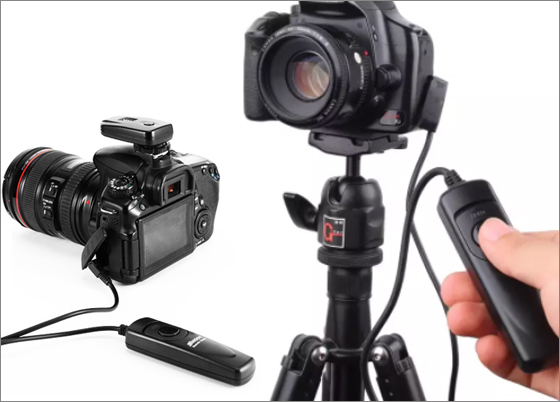
Use a Remote Shutter Release.
Wired
A wired remote is best for short-range and macro shots. And I personally preferred the wired type remote as it won’t get easily misplace.
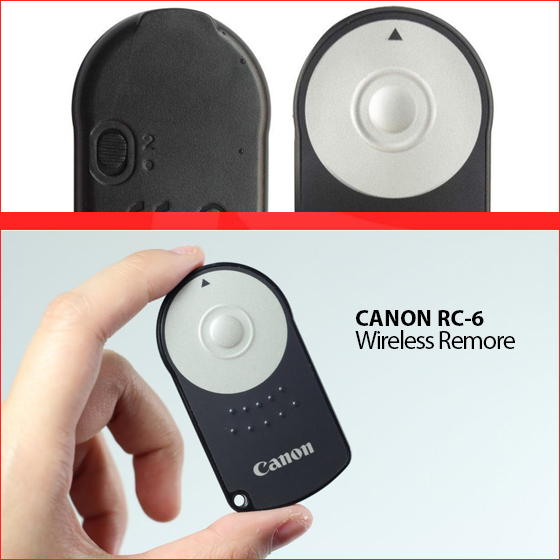
Wiredless
The wireless type remote is an option like a back-up. Just be mindful to where you place it otherwise you’ll have a hard time finding it. hehehe
NOTE: All sample images are in canon brand as I’m accustomed and very much really comfortable to work with the tool ever since though I have Olympus camera in my childhood.
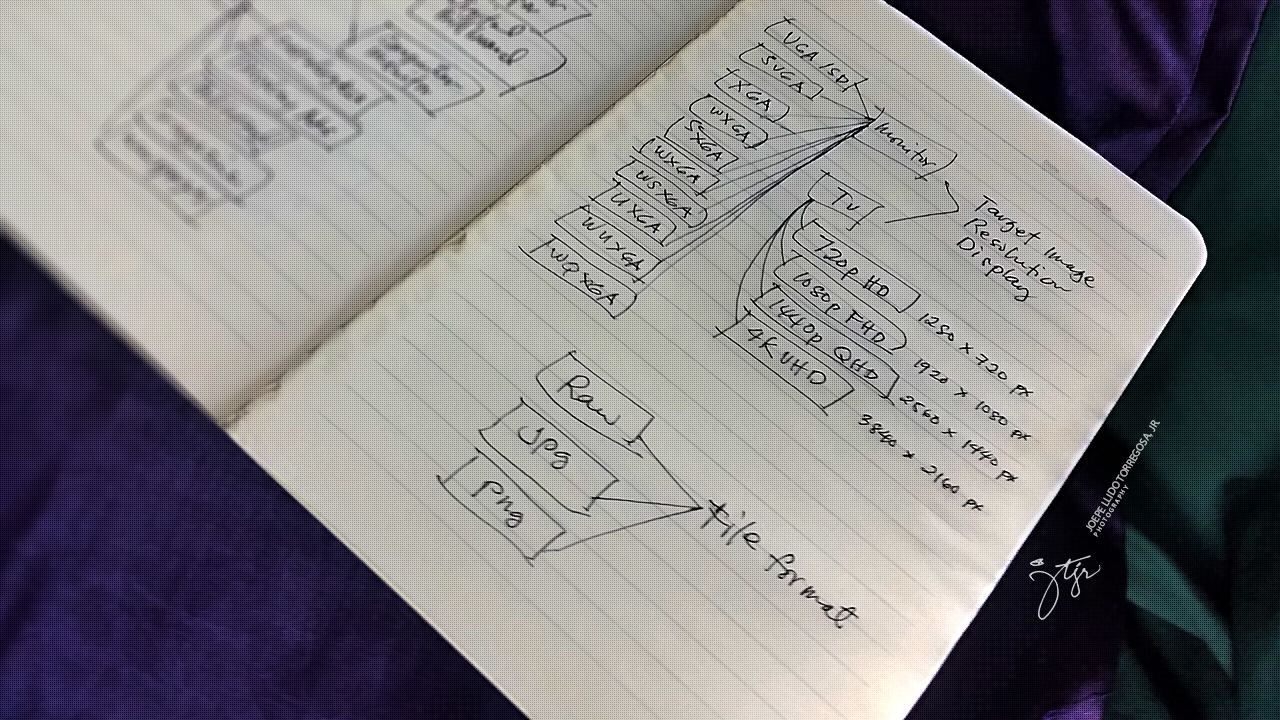
Image Resolution
Oftentimes this subject is always been neglected or perhaps misunderstood by many. Enthusiasts nowadays don’t even bother at all as long as they’re into the highest resolution by default by the camera.
Understanding Image Resolution saves you more storage space and even enhances the quality output for being so mindful of quality shots over quantity of shots.
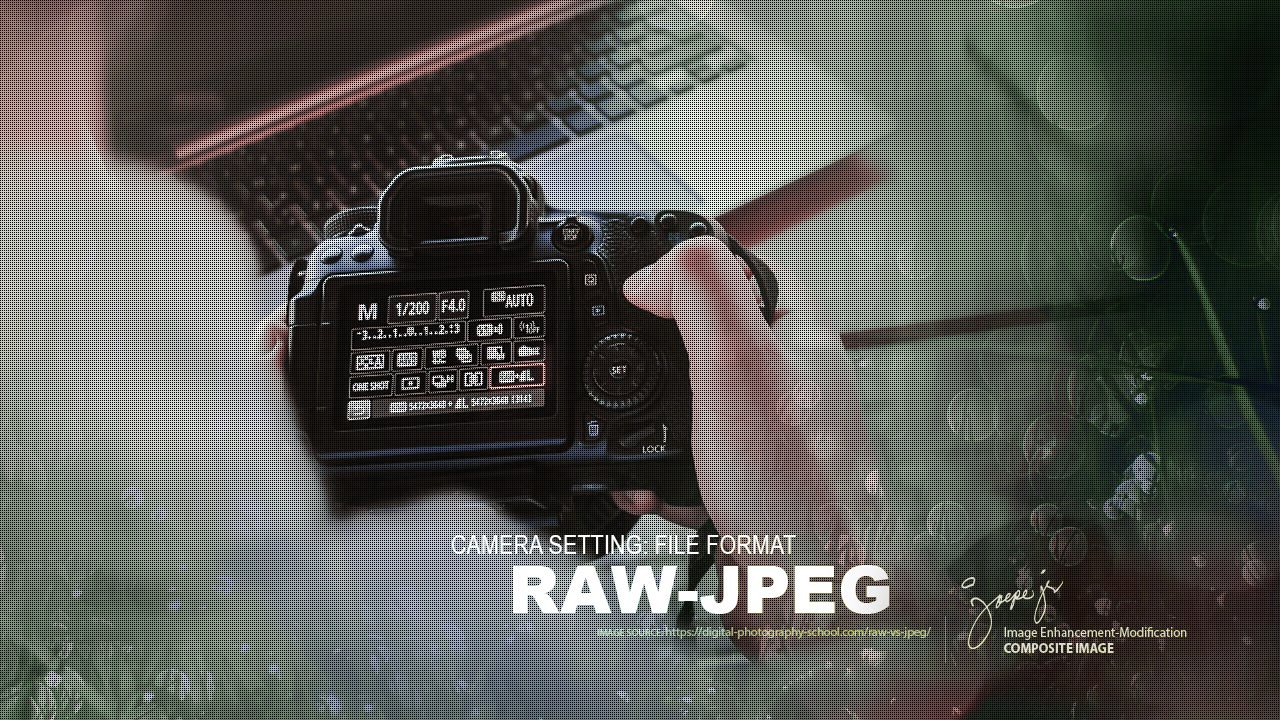
File format
Oftentimes this subject is always been neglected or perhaps misunderstood by many. Enthusiasts nowadays don’t even bother at all as long as they’re into the highest resolution by default by the camera.
Below is my comparative definition between RAW and JPG format in the digital platform.
Raw (UNCOMPRESSED)
Raw format is the uncompressed bit color resolution per pixel of an image. From the digital platform, it is the highest resolution available closest to the true color resolution from a non-digital camera from the negative film.
RAW format requires special software support to view or open.
Too big file size
Intended for print quality Offset Printing
JPG (COMPRESSED)
JPG format on the other hand is the compromised bit color resolution per pixel of an image optimized for file size storage at its best image quality preservation.
JPG format is widely supported to any software over any type of devices
Small size size
Intended for Onscreen Monitor Display and Desktop Printing
Lighting
Lorem ipsum dolor sit amet, consectetur adipiscing elit. Ut elit tellus, luctus nec ullamcorper mattis, pulvinar dapibus leo.
Style
Lorem ipsum dolor sit amet, consectetur adipiscing elit. Ut elit tellus, luctus nec ullamcorper mattis, pulvinar dapibus leo.
Lorem ipsum dolor sit amet, consectetur adipiscing elit. Ut elit tellus, luctus nec ullamcorper mattis, pulvinar dapibus leo.
Process
Photo Enhancement, Editing & Layout Integration
Shooting a product using natural or artificial lighting be it indoor or outdoor is easy but requires a lot of preparation. One must come prepared with the most important accessory tool with your camera – “The Tripod”.
Having a tripod makes your job a lot easier with great quality output.
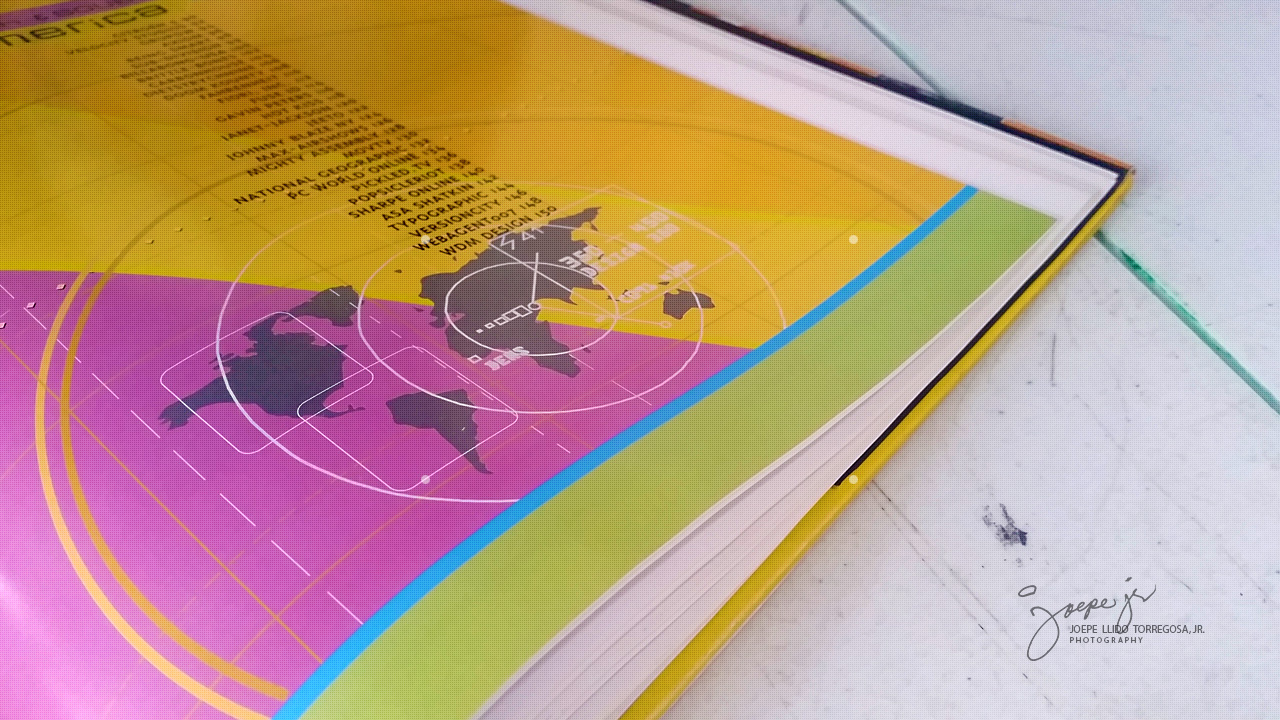
This book brings so much joy to me, my team, my students, and even to our family. And I’m happy to share with you my experience with my precious design book reference.
The book in its entirety is really great. The build, the materials and print finish itself are really amazing. It is built to last for ages even when stored in open library in the corner of your production office.
Feel free to visit the product on site. It’s worth a click.
Understanding Image Resolution saves you more storage space and even enhances the quality output for being so mindful of quality shots over quantity of shots.
png
Understanding Image Resolution saves you more storage space and even enhances the quality output for being so mindful of quality shots over quantity of shots.
gif
Understanding Image Resolution saves you more storage space and even enhances the quality output for being so mindful of quality shots over quantity of shots.
tif
Understanding Image Resolution saves you more storage space and even enhances the quality output for being so mindful of quality shots over quantity of shots.
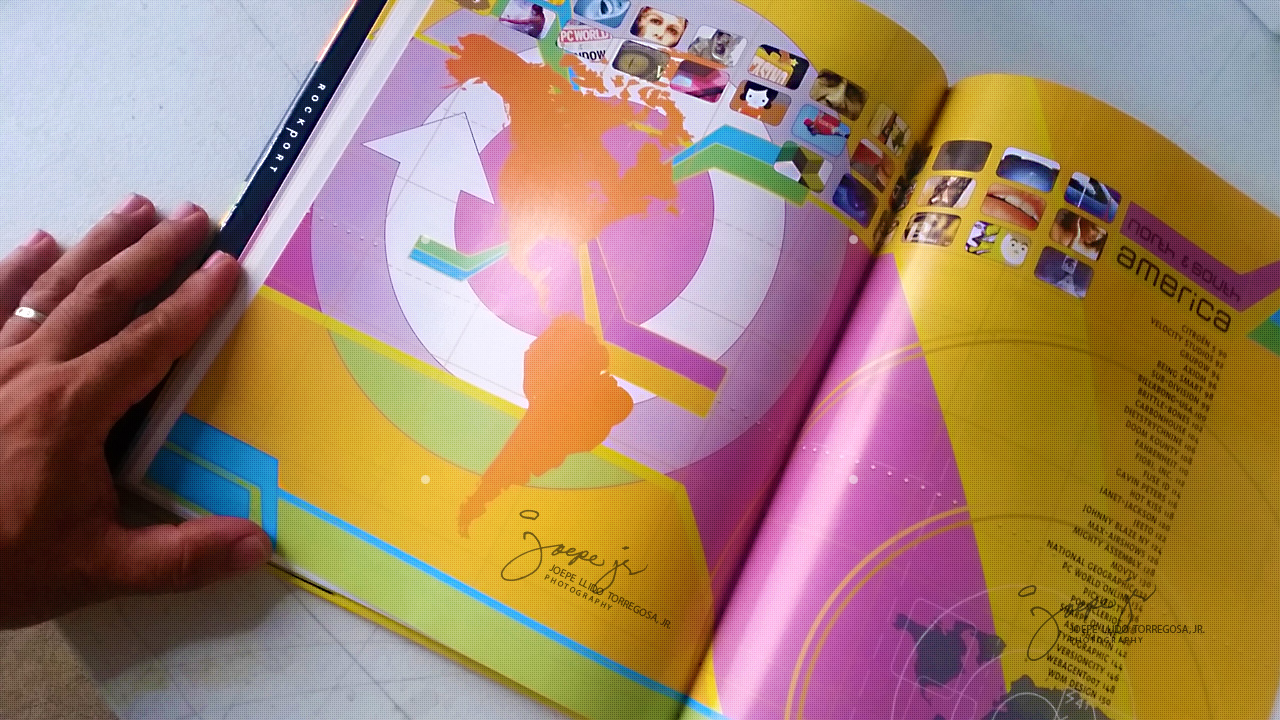
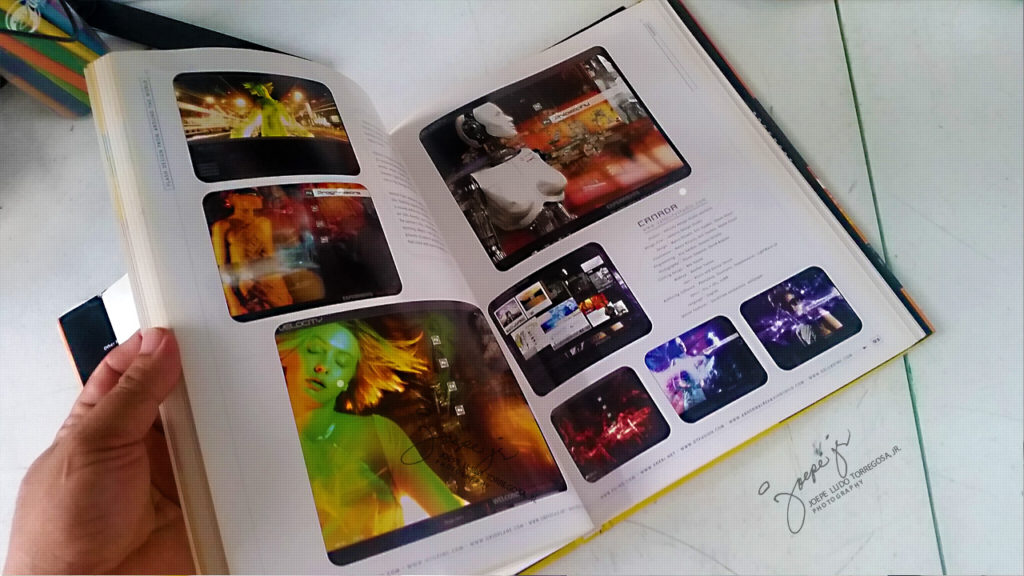
Content Design, Layout, Colors and Contrast
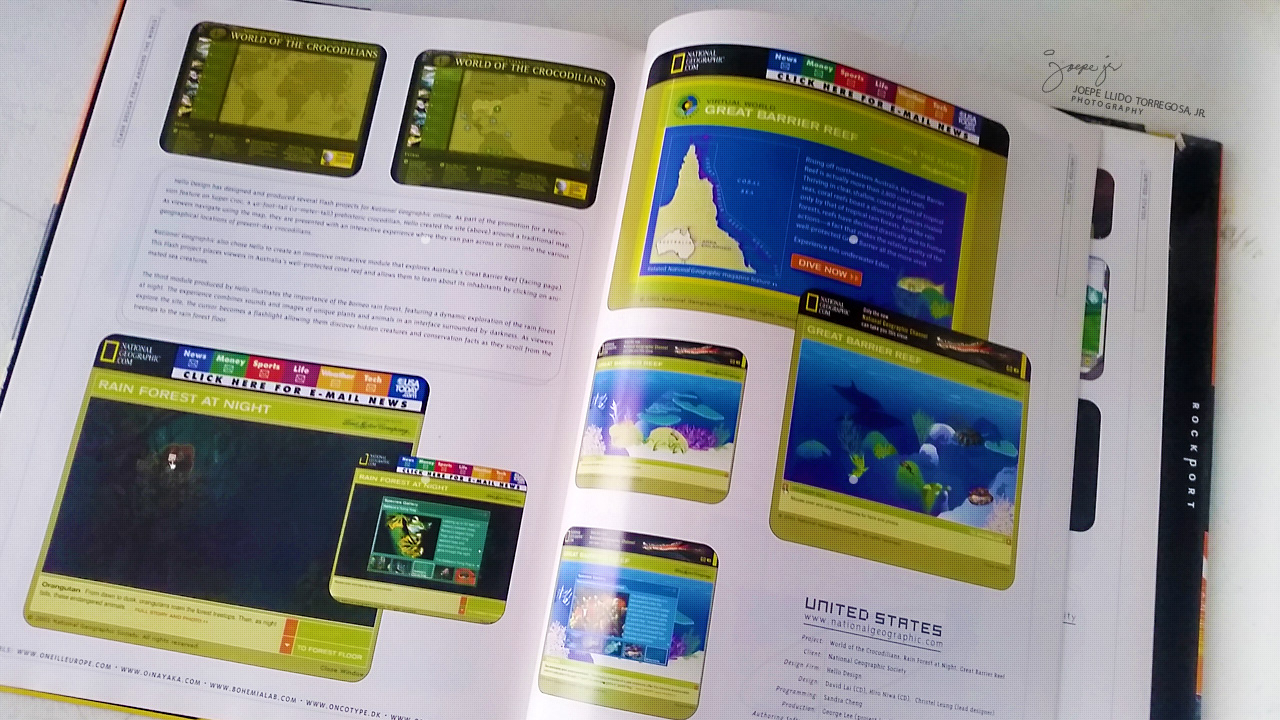
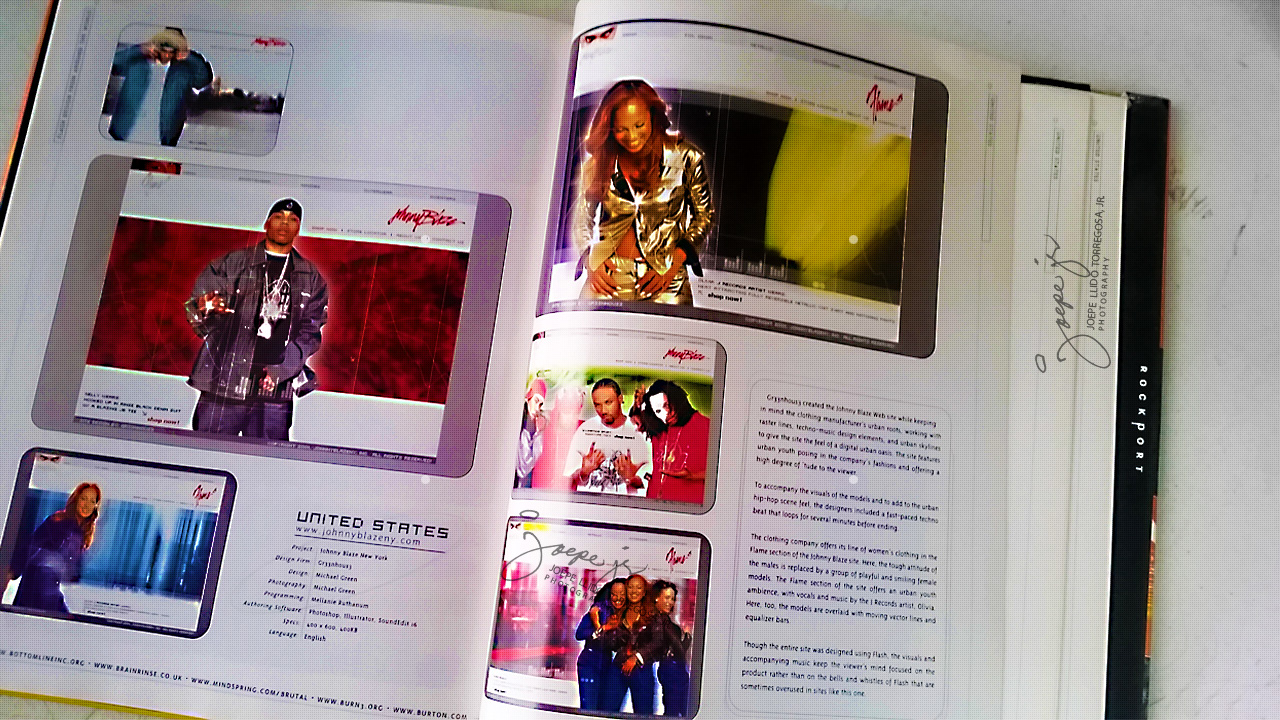
The design and layout along with the colors and contrast of the said book are astonishing. It does really effectively from the reader’s design perspective. Flipping from page to page never ceases to amaze you well and never gets you bored every time you scan through it during your spare time.
The arrangement, order, and layout in general are of great contrast.
The screenshots sample used in the book are definitely of great quality with great details. It’s perfect!
Recommended related topic:
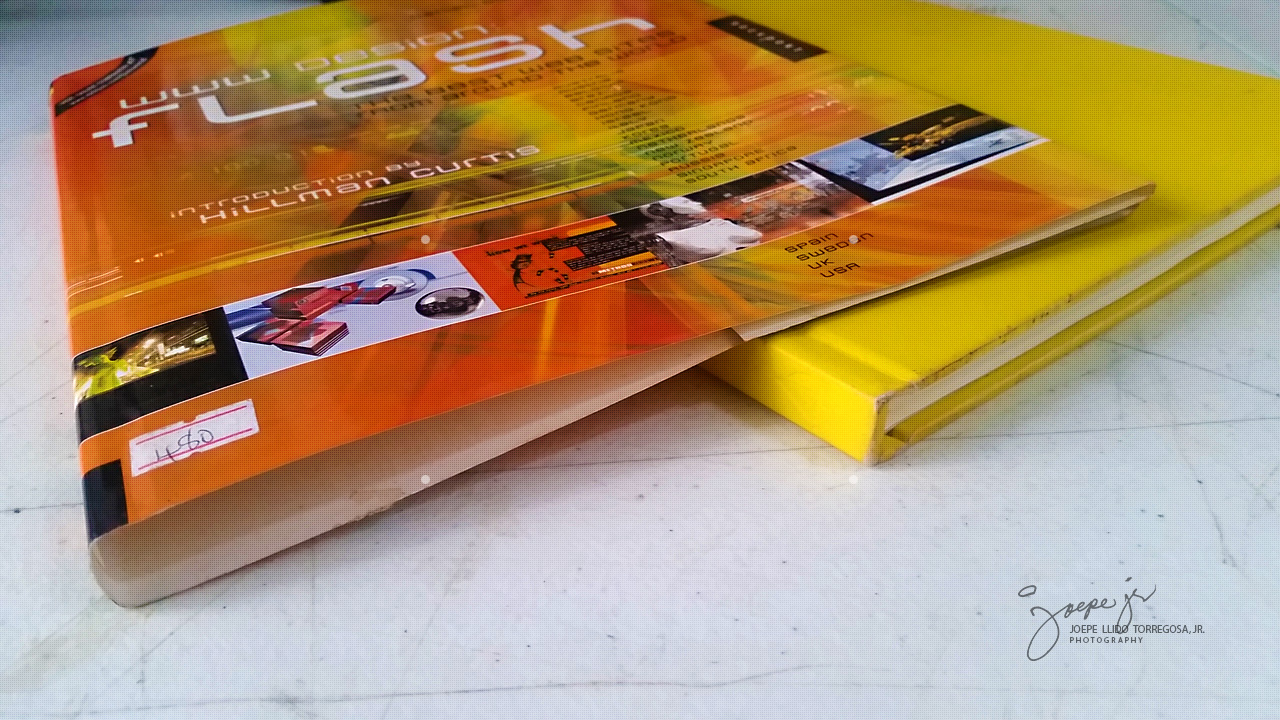
Design Tool: Book Reference
A great design tool book reference: "Design Flash, the best web site round the world"
Infographics:
Creative infographics design for online product marketing and promotion